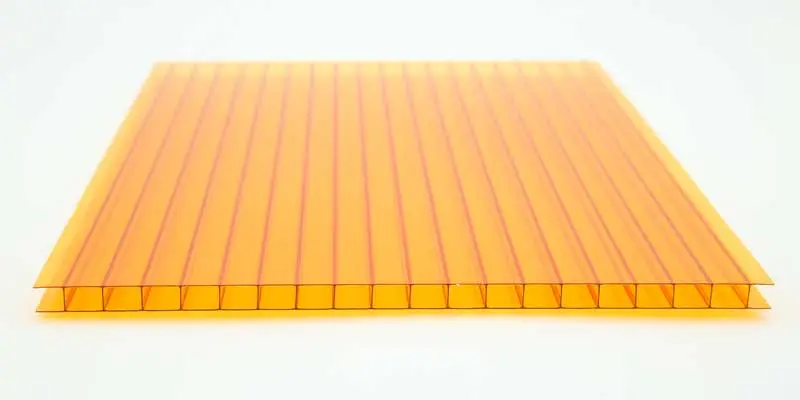
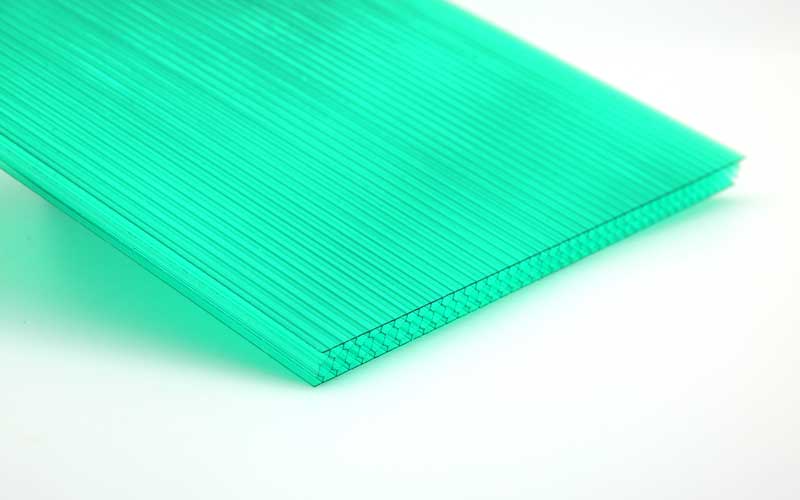
Interlocking polycarbonate sheets are widely used in roofing, canopies, greenhouses, partitions, and curtain walls due to their excellent weather resistance, high light transmission, and easy installation. One of the biggest advantages of interlocking PC sheets is their unique structural design that allows tight, stable, and waterproof connection without excessive accessories. If you want to know how to connect interlocking polycarbonate sheets properly to ensure durability and prevent water leakage, this professional guide will show you every key step.
Tools and Materials Preparation Before Installation
Before installation, you need to prepare necessary tools and materials: interlocking polycarbonate sheets, aluminum or PVC profiles, rubber gaskets, sealant compatible with polycarbonate, measuring tape, marker, cutting tool, rubber mallet, and safety gloves. Always wear protective gear to avoid scratches or injuries.
Step 1: Prepare the Installation Structure and Cut Sheets
First, clean and level the installation structure. The supporting frame must be flat and firm to ensure the sheets can be connected smoothly. Any unevenness may lead to gaps or deformation after assembly.
Measure the installation area accurately and cut the interlocking PC sheets to the required size. Use a fine-tooth saw or professional cutting machine to keep the edges smooth, which is critical for tight connection.
Step 2: Lay and Connect the First Interlocking PC Sheets
Next, start laying the first sheet. Place it gently on the support frame and align it with the baseline. Make sure the UV-protective layer faces outward.
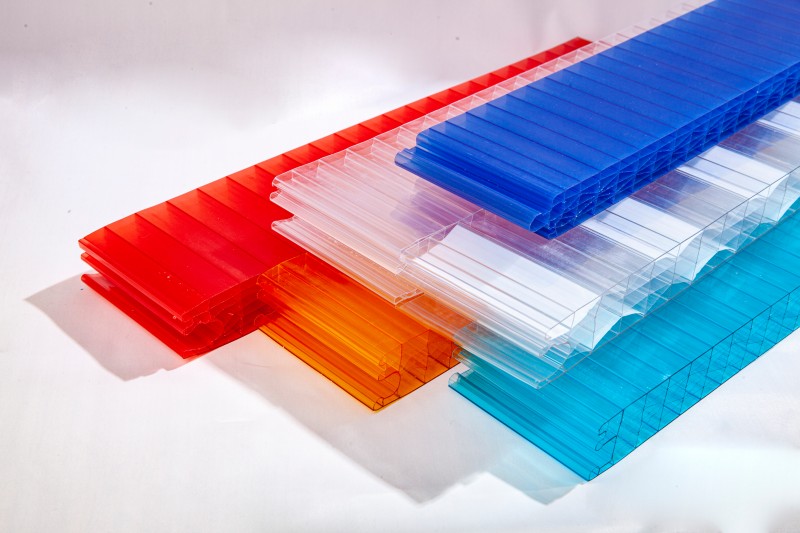
Then insert the second sheet into the interlocking structure of the first one. The interlocking system is usually designed with male and female grooves; push them together gently and tap lightly with a rubber mallet to ensure full engagement. Do not use excessive force to avoid cracking the sheet.
Step 3: Use Connecting Profiles for Large-Area Projects
For long-span or large-area projects, you need to use connecting profiles to enhance stability. Install U-shaped or H-shaped connecting profiles between adjacent sheets.
Place EPDM rubber gaskets between profiles and sheets to improve waterproof performance and buffer thermal expansion and contraction. This step is very important to prevent water seepage and noise caused by temperature changes.
Step 4: Reserve Expansion Gaps During Installation
When connecting multiple rows of interlocking polycarbonate sheets, maintain consistent alignment and leave appropriate expansion gaps.
Polycarbonate expands when heated and contracts when cooled, so a small gap must be reserved according to the ambient temperature range. Generally, a 3–5 mm expansion gap is recommended for every meter length.
Step 5: Final Sealing and Finishing Works
After connecting all sheets, check each joint carefully. Apply neutral silicone sealant specially designed for polycarbonate at the external joints if extra waterproofing is needed.
Do not use acidic or abrasive sealants, as they may damage the surface coating of PC sheets. Finally, fix the edge profiles and end closures to prevent dust, insects, or rainwater from entering the hollow channels.
Conclusion
Proper connection of interlocking polycarbonate sheets ensures strong structural integrity, excellent waterproofing, and long service life. Whether for greenhouse roofing, carport covers, or architectural facades, following standard steps will help you achieve professional installation results with low maintenance cost.